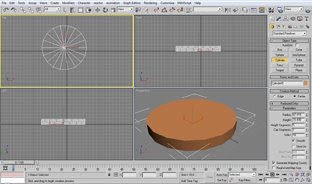
2. Go to a modify panel
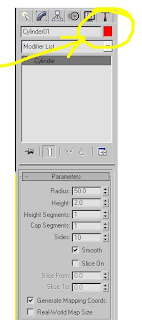
 and change the parameters as shown on the image below.
Don't forget to make the object red - 255, 0, 0.
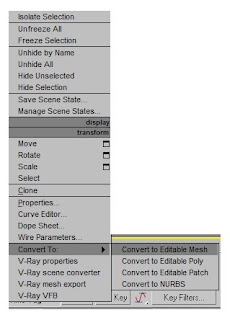
4. With a cylinder chosen right click on it and choose Convert to: Convert to Editable Mesh.
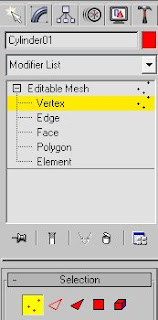
5. On a Modify panel choose Vertex sub-object in Sub-Material menu.
6. Go to a Top View and press Ctrl on your keyboard. Choose every second vertex of a cylinder perimeter by dragging your mouse.
7. Choose select and Uniform scale. Drag chosen vertexes to the center and make it a look like a star.
Important: Do it exactly as shown on image.
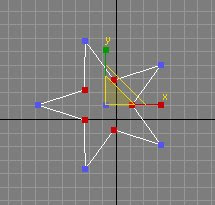
8. Go to the Top view to choose the center vertex.
9. Press Ctlr on your keyboard to move to the Front view.
10. Release the Ctlr and Scale it on the Y axle in the Front View.
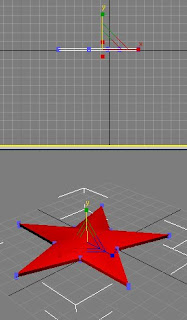
11. Hit Render (F9)

The star is ready.
No comments:
Post a Comment