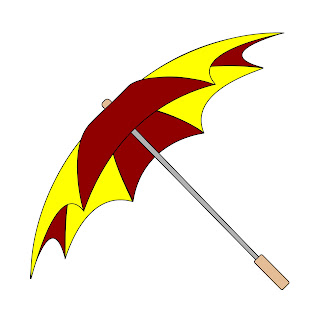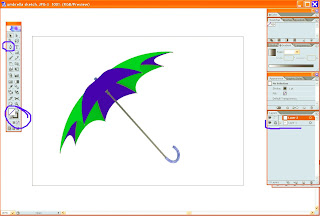
This is the umbrella we will be creating this time. Make sure your reference image of umbrella is multi-colored divided to sections.

1. Open a new document (Cltr+N) and File-Place your reference image. It is always good to separate things at the beginning so Lock the first layer and open a new one. Set the Fill color to None.

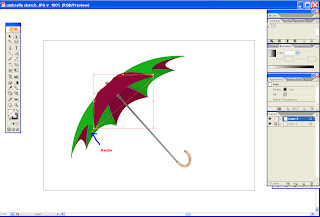
2. Start outlining each section of the umbrella using a Pen Tool. Remember, that in order to create curved lines you should point and drag your mouse and only then release it. Each section should be outlined on a separate layer.

If your shape doesn't look exactly as your reference shape, choose the Direct selection Tool (A) and choose an angle on your shape. Then press Alt on your keyboard so you can work with each handle separately to adjust the lines.

3. After outlining all the umbrella sections add a handle and a top to the umbrella using a Rounder rectangle tool.
4. Hide the layer with the reference image.

5. To color the umbrella use either multiple base colors or create a nice gradient color.
6. That’s it – hope you found it useful.
If you have any questions - don't hesitate to ask. I will be happy to answer it.