Gold material? Easy!!
The first step is to create an object.
Let’s make a simple sphere - radius 30.
Press M for materials to set things up.
First change the Diffuse color to Dark brown - 69, 47, 0
Then – Specular to yellowish - 230,199,91
Set the Specular Level to 191
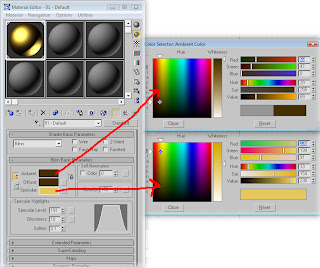
If you render it now – F9 – you could see that it has a slight resemblance of something that could be gold, but it’s not. Yet.
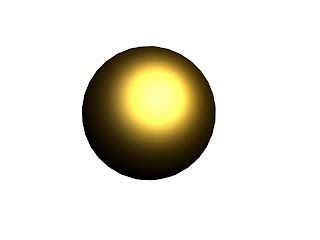
The next step is to go to Maps menu.
Check Reflection and choose Swirl map.
Change Base color for 165, 144, 0 and Swirl color for 0,0,0 – Pure black.
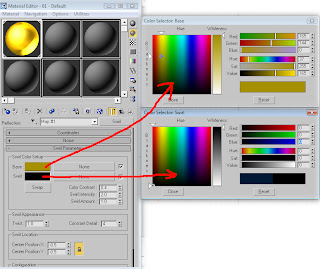
Hit render.
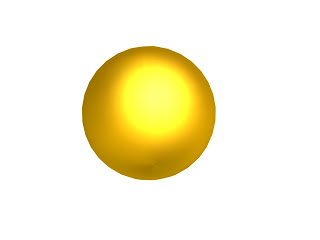
You will probably have some separation line in the center of your sphere.
In Coordinates change Blur offset from 0 to 1.
Render.
Congrats! You’ve got your Gold material.
...The idea of creating my own tutorials came when I realized I couldn’t always find the info I needed online. So I've decided that the best way to overcome this challange is to start creating those “missing” tutorials myself. Here you will find many simple and original tutorials for 3ds max and Illustrator. I hope these cuties will help you in your own projects and will answer some of your questions... Have fun! Dalia
Monday, October 8, 2007
Creating a Rubik Cube with Multi/Sub-Object material tutorial with 3DS Max.
Step 1
Create a Chamfer Box (Create: Extended primitives).
L/W/H Parameters – 100.
Fillet – 9.
Modifier list: Edit Poly.
Step 2
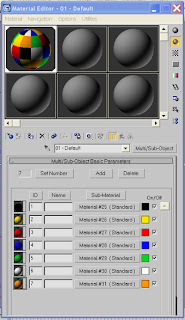
Press M for Materials.
Choose Multi/Sub-object material in Material/Map browser.
Set Number – 7, so we’ll have 7 materials to work with.
First color must ALWAYS be a basic color of the object. Make it Black.
Create 6 additional materials Yellow, Red, Blue, Green, White and Orange.
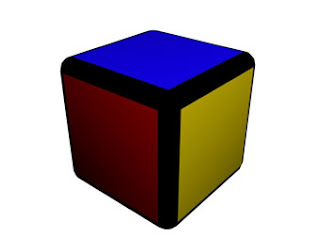
Choose Chamfer Box and apply materials. It is all Black now.
Go to Edit Poly and choose Polygon sub material.
In Polygon Sub Material drop-down menu change Set ID parameter from 1 to 2.
Hit Enter. The chosen area is Yellow now.
Apply materials and IDs to other sides of the figure.
Hit Render/F9.
Step 3
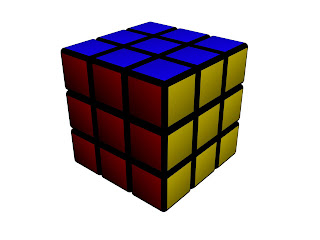
To create a Rubik Cube you should multiply the existing object 3x3x3
Hit Render.
That’s all :)
Subscribe to:
Posts (Atom)